One of my key objectives for my railroad room was for a visitor to walk into my room and only see the layout. The first thing I did was paint the walls and legs black, so there was ‘floating’ effect to the benchwork. But the other issue that I had to deal with was where to put common hobby supplies (wood strips, styrene, paint, glue, etc.) and tools that I use on a weekly basis. I didn’t want to see that clutter in the room either.
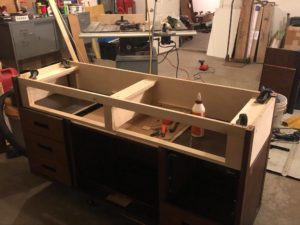
Having built a chop saw station made from an office credenza, that was my starting point again. I have a lot of supplies and needed to add drawers and shelves to maximize every inch of space, somewhat like a turn-of-the-century carpenter’s tool box. The value of office furniture is it is robust and cheap. In fact, the credenza you see was actually free. The first image shows how much space there is below the cabinet and that is where drawers can be installed.
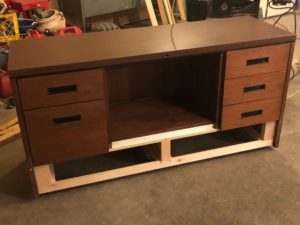
Most of these credenzas are about the same size, but if you can, find one with wooden legs as it makes the build stronger since you can both glue and screw the new framework. While this looks somewhat complicated, it is just basic plywood cut on my table saw. Speaking of which, alI of the wood was free that I found on online marketplaces.
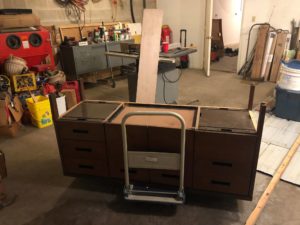
When building, I built the outside first, then worked inwards. Once this frame was built, I measured multiple times using a metal ruler and used a square to ensure pieces were installed plumb I did not use drawer slides, but wooden drawer glides used on furniture. If you need a pattern, open up a dresser and look at how it works and this will also give you the OD of the drawer and the ID of the glides. One other design element was the underside of the drawer glides was also the mount plate for the wheels. Having a really good shop, I long ago learned the value of putting wheels on everything. This allows this to be pulled out and used as either work surface or bench.

You will note I recessed the wheels about an inch so the unit will sit closer to the floor. When flipped into the normal position and to ensure it was solid,I did add some more screws and bracing. These units are heavy and suggest wheels no smaller than 3″, but 4″ makes them easier to navigate. But the general design concept worked.
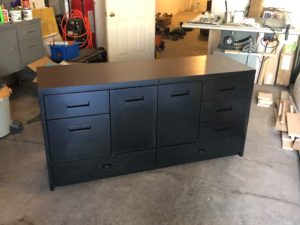
And to be consistent with the rest of the below benchwork, I painted the unit, except for the top, satin black. And yes, you can paint laminate, but you have to sand and prime first. Total cost in this is about $1.00 and time was about 8 hours. I will add a future post on how I organized the inside!


